checklist
What should I check on a gown the day it arrives from the designer before I call the bride?
Receiving inspection is your only clean window for a claim. A step by step check of shade, sizing, construction and hardware to run before the gown ever goes on a hold rack.
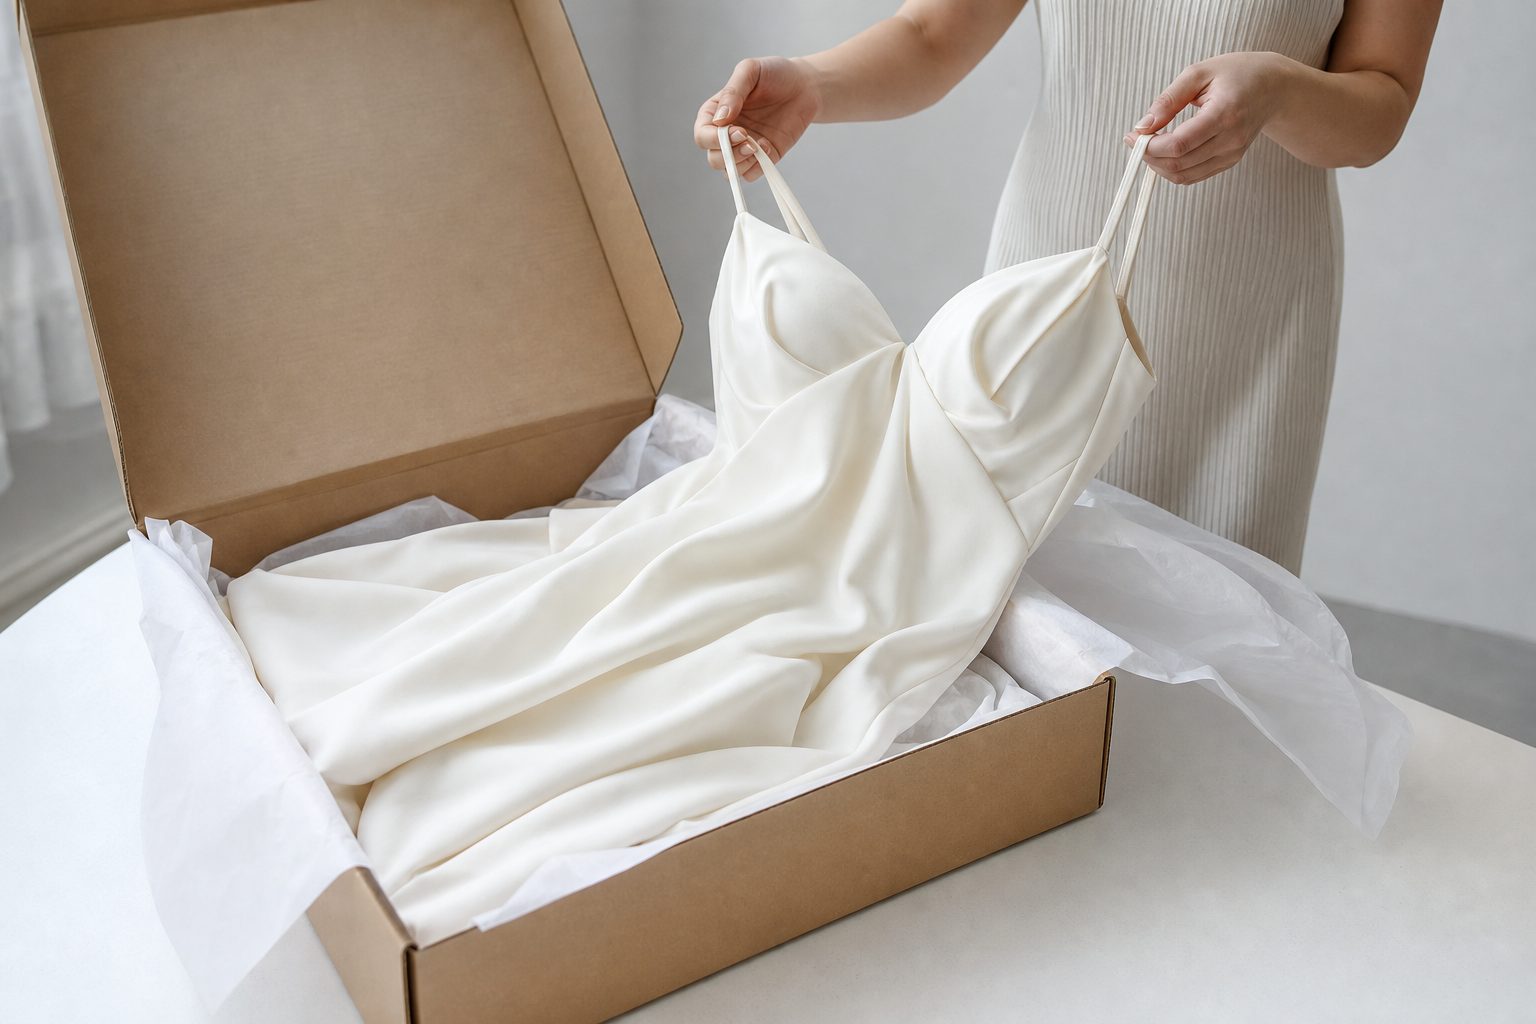
Check the gown against the order confirmation, against the sample it was sold from, and against the designer's own measurement chart, all before it leaves your receiving table. That is the short answer. Style number, size, color name, dye lot, hem length, beading placement, seam integrity, zipper and closure function, and the shipping carton itself. Everything gets photographed while the tissue paper is still on the table.
The reason is narrow and unforgiving: most bridal manufacturers give you a defect and shortage window measured in days from delivery, not from when the bride tries it on. Once that window closes, a shade mismatch or a dropped bead line stops being the designer's problem and becomes yours, priced in alterations labor and in a conversation you do not want to have.
So the pickup call is the last step, not the first. A gown that has not been inspected has not really arrived.
Unboxing and documenting condition on arrival
Open the carton where you can see it. Not in the stockroom aisle, not on the floor. A clean worktable with real overhead light, because you are about to make color and finish judgments that fluorescent tube light in a back hallway will not support.
Photograph the carton before you cut it: the shipping label, the carrier barcode, and any crush, water staining or puncture on the outside. If the box arrived damaged, that photo is the difference between a carrier claim and an argument. Then photograph the packing slip beside the opened box so the two are linked in one frame.
Keep the carton for at least the length of the claim window. Manufacturers routinely ask you to return a defective gown in its original packaging, and a flattened box costs you a day.
What goes in the record
- Date and time received, and who received it.
- Carrier and tracking number.
- Carton condition photos, outside and inside.
- Packing slip photo, including the designer's order or cut number.
- Full length front, back and hem photos of the gown on a form.
Keep reading: How many fitting appointments does one gown really take from first pin to pickup?
Matching style number, size and color to the order
Do this against the signed order form, not against memory and not against the special order log. Bridal orders carry four fields that all have to agree: style number, size, color name, and any options such as a hollow to hem change, an added lining, or a modification to the neckline.
Style numbers in this trade are close cousins. A designer will run the same silhouette in a crepe and a mikado version with one digit different. Read the sewn-in tag character by character. Then read the packing slip. Then read the order form. Three reads, three sources.
Size is the one that catches people. Bridal sizing runs small and it runs by the designer's own chart, so a gown tagged 12 is not a street 12 and never was. What matters is whether the tag matches what you ordered, and whether the actual garment measures like that tag says it should.
Shade and dye lot against your sample and swatch
Ivory is not one color. A designer's ivory, light ivory, diamond white and champagne can sit within a few points of each other, and dye lots inside a single color name drift across production runs. If the bride ordered based on your floor sample, the floor sample is the promise she remembers.
Lay the new gown next to the sample under the same light. Then check it against your official color swatch card if the designer supplies one. Look at the areas that shift first: lining under a sheer overlay, a satin band against a tulle skirt, and any separately cut piece like a detachable sleeve or an overskirt.
A gown ordered with a matching veil or a separate overskirt deserves extra attention here. Those pieces are frequently cut from different rolls. A veil that reads pink against a gown that reads yellow is a real claim, and it only shows when the two are together in daylight.
Beading, lace placement and seam inspection
Work the gown top to bottom on a form, in the same order every time, so nothing gets skipped when you are busy.
On beading and appliqué, look for symmetry across the center front and center back. Hand placed lace motifs are supposed to mirror, and a motif that sits an inch high on one side of a bodice will be visible in every photograph she takes. Run a hand along beaded edges to find loose threads and missing stones, and check whether the beading crosses seam lines you are going to have to open in alterations.
On seams, check the French seams and boning channels inside the bodice, the horsehair or the serged finish at the hem, and any point where a heavy skirt hangs from a lighter bodice. Puckering along a princess seam in a satin is a construction fault, not something steaming will fix.
Note anything you find that you will have to work around in alterations even if it is not a defect. Heavy beading over a side seam is not a claim. It is an hour of hand work you should be pricing now.
Keep reading: What does a bustle really cost to build, and why do brides argue about the price?
Zipper, corset back and hardware function
Close the gown fully on the form and open it again, twice. An invisible zipper on a fitted crepe has to run smoothly under tension, and a zipper that catches in the shop will catch in a hotel room on a wedding morning with three people pulling on it.
On a corset back, count the grommets, check that they are set evenly and that none are cracked, confirm the modesty panel is attached and the correct length, and confirm the lacing ribbon is present and matches the gown color. On a hook and eye closure above a zipper, check that the hooks are anchored through more than the lining.
Also confirm the accessories the order called for: a garment bag, extra fabric for the bustle or a hem, a bag of matching buttons, spare beads. Missing extra fabric is a shortage claim and you will want it before you cut a hem.
Measuring against the designer size chart
Tags lie occasionally. Tape does not. Measure the flat garment at bust, waist and hip, plus hollow to hem front, and compare to the designer's published chart for that style and size. Most charts allow a tolerance, often around half an inch, sometimes an inch on skirt length.
Here is the arithmetic that matters. Say the chart for a size 10 in that style gives a 36 inch bust and the gown measures 34.5 inches. That is one and a half inches under, well outside a half inch tolerance, and it is a documented claim rather than an alteration you absorb. Assume for a moment that letting out a bodice that far is not possible on that seam allowance. Now you are looking at a reorder with a rush cut fee, and you need the bride told this week, not at a fitting in two months.
| Measurement | Chart spec | Gown as received | Variance | Action |
|---|---|---|---|---|
| Bust | 36.0 | 34.5 | 1.5 under | Claim, photograph tape in place |
| Waist | 28.0 | 28.25 | 0.25 over | Within tolerance, note for fitting |
| Hip | 39.0 | 39.0 | Even | None |
| Hollow to hem | 60.0 | 58.0 | 2.0 short | Claim if bride is tall, check her spec |
Those figures are illustrative. Use the chart the designer publishes for the style in front of you, and photograph the tape lying on the garment at each point you record.
See how VeilFittings handles this for bridal retail and alterations
Filing a defect claim inside the designer window
Read your dealer agreement before you need it, and write the window on the receiving log so nobody has to remember. Then file the same day you find the problem. A claim that lands on day two gets a remake. The identical claim on day fifteen gets a polite explanation of the policy.
- Email the designer's customer service with the order number, style, size, color and cut number from the packing slip.
- Attach the photos: full gown, close detail of the fault, and the tape measure in place if it is a sizing issue.
- State what you want, plainly. Remake, replacement piece, extra fabric, or an alterations allowance in dollars.
- Give the wedding date. It is the single fact that moves a rush.
- Hold the gown as received. Do not steam it, do not cut it, do not sell it, until you have an answer in writing.
If they offer an allowance instead of a remake, price the repair honestly before you accept. Reworking a beaded bodice at your seamstress rate can exceed the credit they float first.
Steaming, storage and only then the pickup call
Once the gown passes, steam it and hang it properly. Wide padded hanger, hanging loops carrying the skirt weight rather than the shoulder seams, breathable garment bag, and a rack that is not in direct sun. Tag it with the bride's name, wedding date and order number in a way that is readable from the aisle.
Then call. When you call a bride whose gown has been inspected, you are telling her something true: it is here, it is right, and here is your first fitting date. When you call before inspection, you may be scheduling a conversation about a dye lot instead.
Where the checklist lives
The failure mode in most shops is not ignorance. Every experienced owner knows to check a hem. The failure is that receiving happens on a Tuesday while three appointments are running, and the claim window quietly expires because the note lived on a sticky pad.
VeilFittings keeps the gown on one board from deposit to pickup, with the receiving check, the claim deadline, the fitting appointments and the seamstress workload visible to the whole shop. The gown that arrived this morning is on the same screen as the wedding date it has to make. That is the point: the checklist only protects you if the calendar remembers it for you.
Read also

How many fitting appointments does one gown really take from first pin to pickup?
Two fittings is the number most shops quote and rarely the number they deliver. A breakdown of appointment counts, chair time per stage and how to schedule the room around real duration.
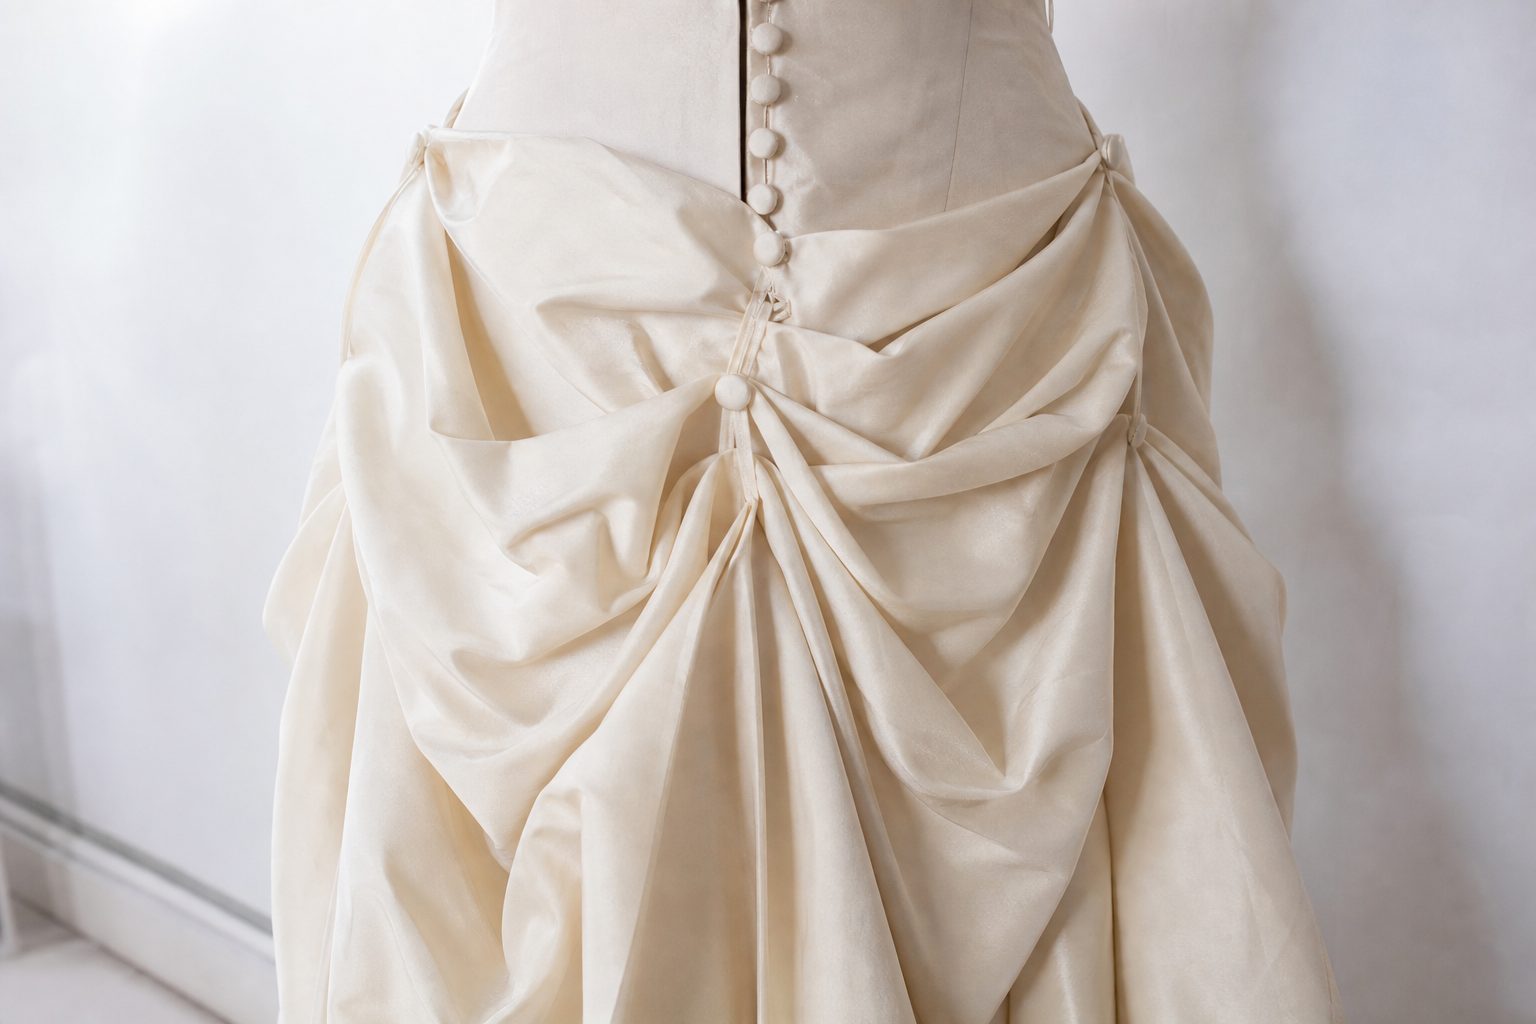
What does a bustle really cost to build, and why do brides argue about the price?
An American bustle on a cathedral train is hours of hand work hidden under a skirt. From the fitting room floor: how bustle types differ, what drives the labor, and how to explain it.
How far out should I be ordering a bridal gown so it lands before the first fitting?
Designer production windows, shipping, and your own alterations calendar all stack. Here is how to work backward from the wedding date and build the buffer that keeps a rush cut off the invoice.